
I was lucky enough to be given a petrol lawnmower last year which although well used was still running fine, but the only downside was a large rusty hole in the bodywork, also known as the deck. I was lazy and untreated this hole has got bigger and bigger and in the end did effect the performance of the mower.
The issue is that the grass ended up not getting sucked into the bag but instead followed the path of least resistance and spewed out of the side!
As you can see it was a pretty big hole in the mower deck!

Tools for the job
All the things you need you can get from Halfords as there’s not too much difference between the mower bodywork and a car’s so here’s what I used:
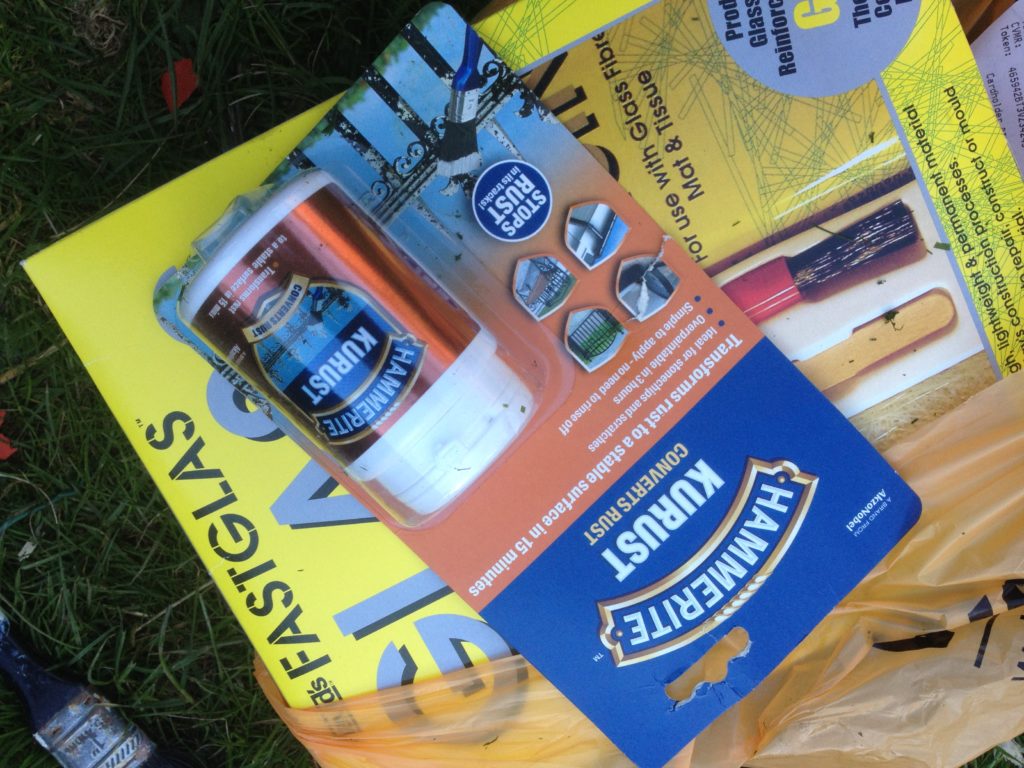
- Hammerite Kurust (Amazon)
- Fastglass Glass Fibre Kit (Amazon)
- Wire brush (Amazon)
- Old paint brush
If you’ve not got a Halfords near you then all this is also available online from Amazon.
Remove the rust
If you don’t get rid of the rust then there’s no point in doing the job as the whole mover will fall apart at some point so here’s where the Hammerite Kurust comes in.
- Clean the area. Ensure the area is clean from grass and dust etc and then get at it with a wire brush. This will remove any loose paint and rust and give you a sound surface to work from.
- Apply the Kurust with an old brush. The Kurust will convert the rusty area into a solid and inert surface. If you want to get geeky then it actually converts iron oxide to stable iron complexes. Please note you shouldn’t put the brush back into the original pot as that could spoil it, so first off transfer any Kurust you intend to use into a separate pot.
- Leave it to dry and do it’s magic. It only actually takes 15 minutes so this really is a job you can do all in one go.
Glass Fibre Kit
The great thing about the glass fibre pack is that it’s got everything you need to finish the job along with simple instructions.
- 500ml of resin
- hardener
- matting
- mixing cup
- gloves
- stirrer
- application brush
Repair the hole
- Cut out lengths of glass fibre into handy and workable sizes. There’s plenty in the pack so cut a lot as it gets messy later on.
- Put plastic gloves on (again supplied in the pack)
- Mix some resin with the hardener. Only make enough you can use in 5 minutes as it will set pretty quickly!
- Brush the mixed resin onto a strip of glass fibre and then put the strip onto the mower hole, sticky side down. Generously apply more resin to the fibre and stipple the brush so that you can see the fibre glass starting to separate which will indicate that it’s been fully applied.
- Repeat with the remainder of the strips allowing a slight overlap. These will fully harden in 20 minutes so if you want to apply another layer of fibre glass then you can.

Job done and a new body of polyester resin and glass fibre! It’s amazing how hard it sets and I’ve still got lots of resin and fibre glass left. The gloves, brush, and pot all went in the bin as they weren’t worth keeping especially as they were covered in resin but they were cheap enough.
So there you go. For less than £20 I’ve saved the life of my mower and can confirm it works fine as I was using it later in the day.
It’s not pretty but it does the job.
Awesome thanks you made my brighter God bless you
Very Helpful, thank you. Where do you live? Can I hire your services to fix my mower.?
Cheaper than a new mower! Excellent instructions, thanks.
Excellent, I am going to do this, this weekend. Did you apply any repairs or treatment to the inside surface of the lawnmower deck, or all just on the outside?
Awesome, I just got a big hole in my lawnmower tonight, I searched the Internet and found these perfect directions to fix my problem, thank you very much for posting!, god I love the internet!!!
Happy to be of help.